
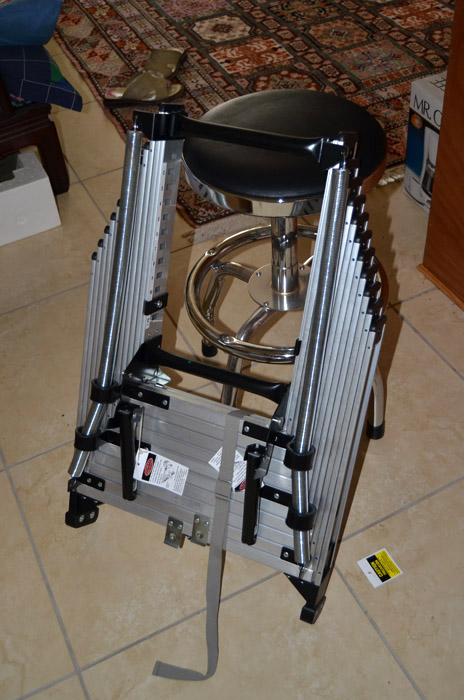
I thought the box was heavier than expected, but this is the 10ft ladder
Werner Attic Ladder installation
So that I would not have another wrist-wrenching incidence of falling out of my attic, and really, to just make it a whole lot easier to get in and out of that space for wiring, attic fan replacement and other maintenance, I decided that I need an attic access ladder. I did find one at amazon.com and ended up installing it by myself in one day, including the door. It is a bit of a stretch to do that by yourself, but, if you're fit and lift weights, it can be done. The second day was just painting the door, and making an adjustment on the latch striker plate, that did not make proper contact. |
|
I thought the box was heavier than expected, but this is the 10ft ladder |
 |
What's in the box |
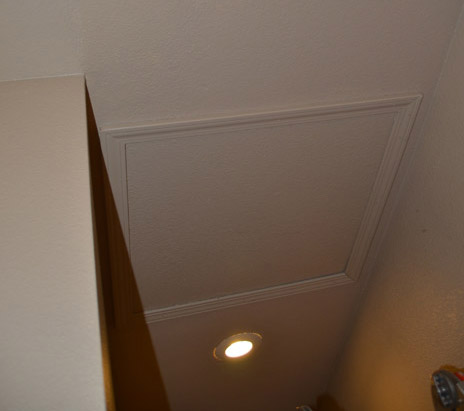 |
My access is the standard drywall panel (9-foot ceilings) |
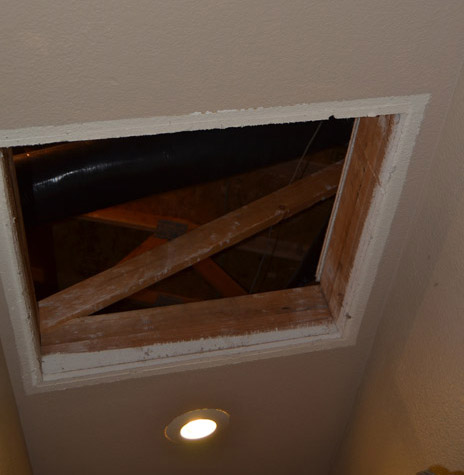 |
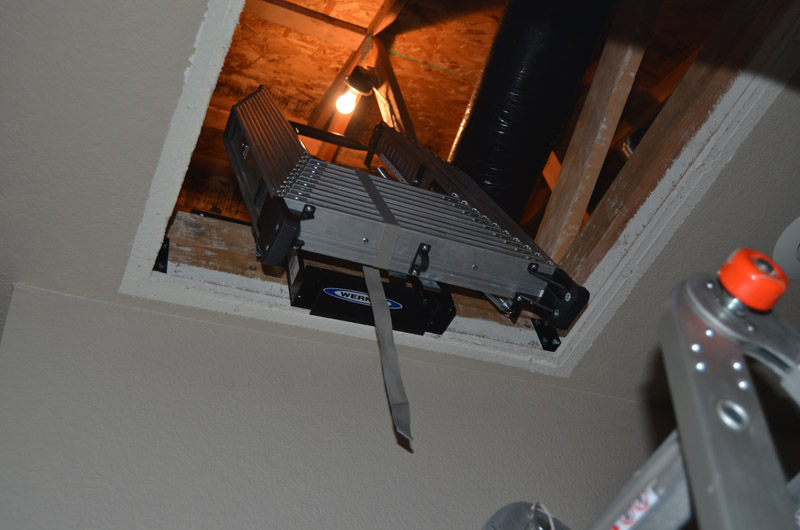
And as soon as I contemplated the installation with the instructions on hand, I realized the problem. With the way the rafters are running, I would not be able to install the ladder running either way lengthwise in the hallway. Dang it! |
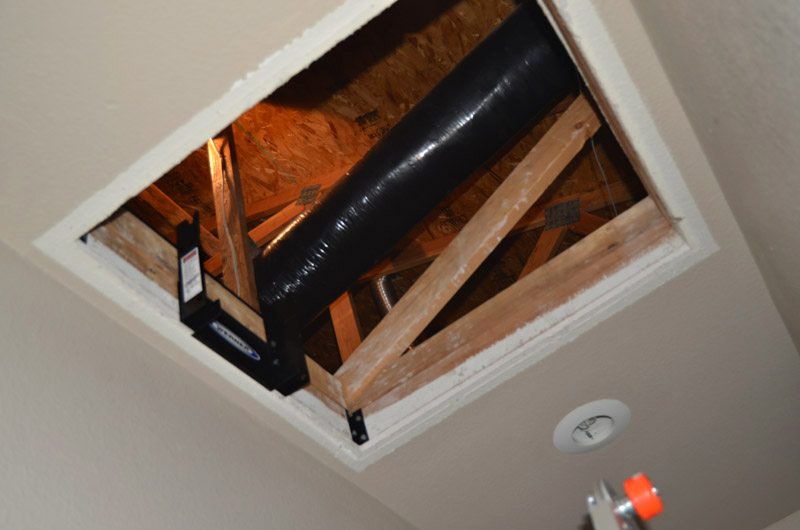 |
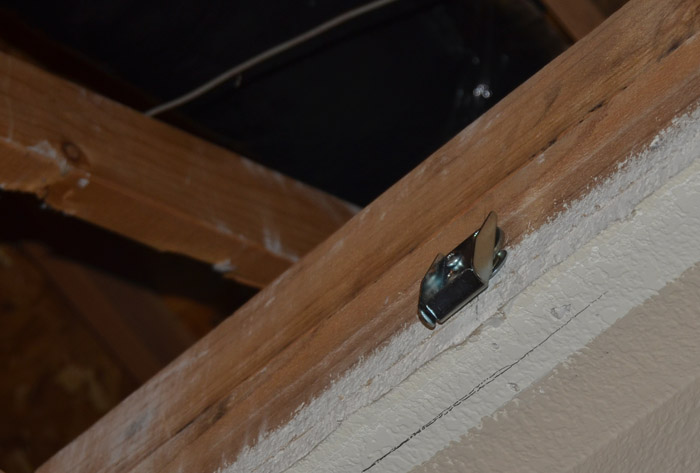
So, I thought about all of that and decided that even installed across the hallway, it will still give me easier access to the attic space than what I have now - you know, short ladder and acrobatics at the top. I adjusted accordingly and installed the corner brackets (in black) and the central support as you see here. Tools needed up to this point, drill, screwdriver, measuring tape, pencil. Keep the central support as close to centered as possible. I did not, and it complicated things later, although I was able to work around that. NOTE: I ended up redrilling all of the holes 1/64th larger than they recommended. It did not make things a lot easier, but at least doable. |
 |
Removing, as instructed, one of the rungs of the ladder, the nylon strap that was holding all of the rungs together had to be removed. You don't want to install the ladder that way, and I used a webbed belt from one of my hiking pants to hold the rungs together. |
 |
Here came the hard part. Climbing the ladder carrying the assembly and then lifting it into the pivot points at the top of the central support. |
 |
At this point you will need some wrenches, sockets -11mm or equivalent, and larger (14mm) to secure the ladder to the pivot point so that it would stay safely up there, connecting the struts (nylon straps are running through them), and the bottom pull-down loop. Then I carefully removed the belt, but it stayed just where it was, perfectly balanced. |
 |
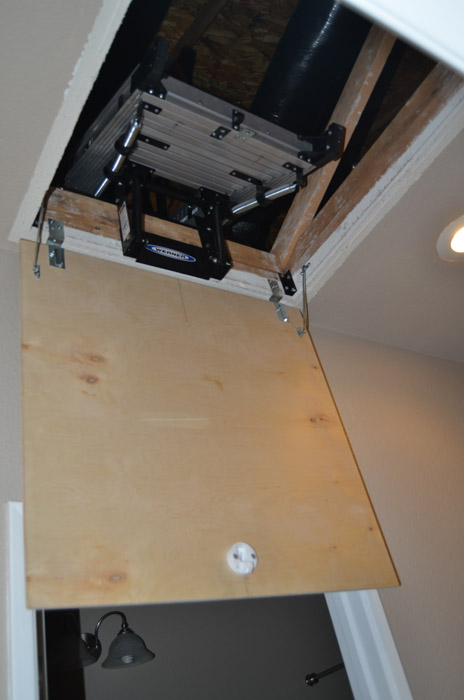
With everything connected, this is how the ladder rests, and you can see why I was right to mount it this way, The rafters would not have permitted this to happen. |
 |
Time for a test, and lo and behold, an attic access ladder. |
 |
Next, I went to Lowe's and bought a cabinet-grade (on one side only) 1/2 in five-ply piece of plywood. The door has to be 1 1/2 in larger in both directions than the opening. In my case, the opening was 30 x 30.5 inches. I cut my board to 31.5 x 32 inches. Sanded the edges, and did a lot of drilling and measuring. Tools you will need at this point: Drill, screw drivers, a carpenter's square or suitable substitute, and definitely a 2 inch hole-saw to cut the hole for the locking mechanism. |
 |
For some reason, their recommendation or my measurements, doesn't matter, the center of the two inch hole for the latch was off by 3/8 in. I added washers to raise the striker plate off the wall.... |
 |
....and now the door latches solidly and firmly. All's well that ends well. |
 |
Setting up to paint the door, inside and out. |
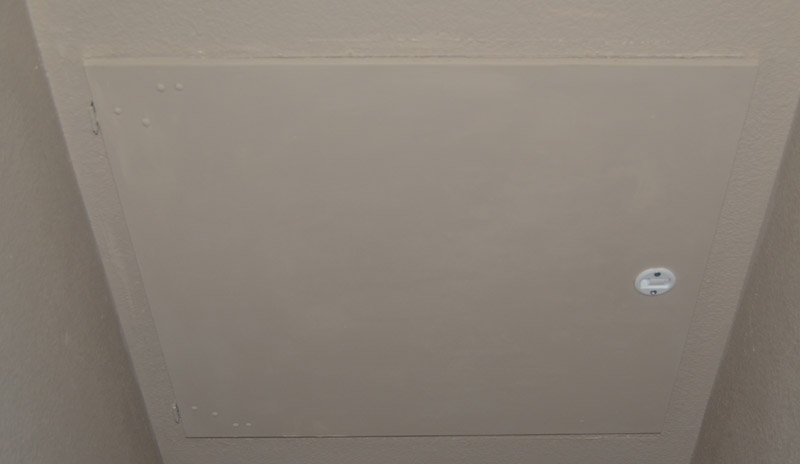 |
And there it is, freshly painted. |
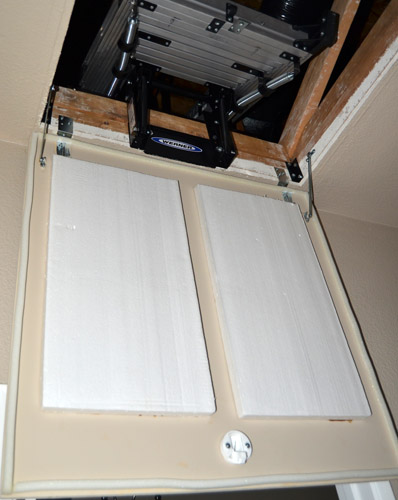 |
Finally, add the weather stripping, that comes with the package, and glue-in some insulation (styrofoam). |